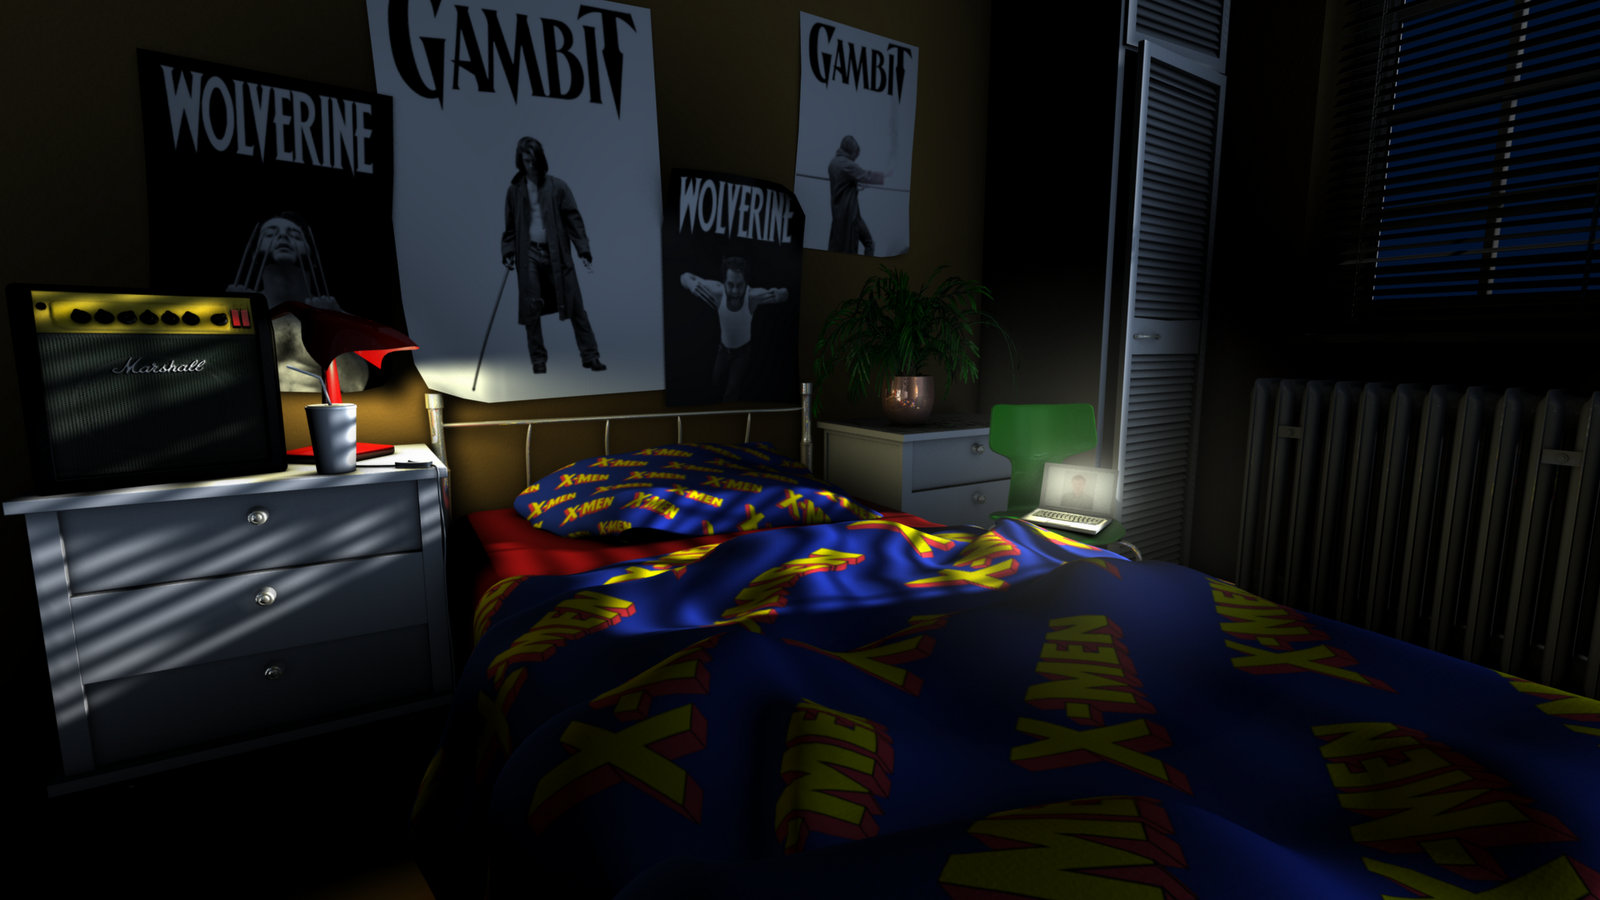
This is the final look of the room. The lighting was actually very simple, only a few lights. I used depth map shadows for everything.

This is a final shot of room without the guitar.
This is a final detail of the amp.

This is the ambient occlusion pass. A fellow class mate showed an extremely simple way to make this pass possible. It added very subtle detail but in my opinion necessary. It really added depth to the blinds and made the guitar strings seem to pop!

This is a view of the bedroom from Maya.

I never had a Marshall amp but I always wanted one to go with my guitars. This bedroom scene was my chance to finally have one. I really wanted the amp to look as real as possible so I researched all the proper textures. The amp probably took me the most time to complete, because it seemed that my mania knew no end!

This is the texture and bump map used for the amp screen. I really wanted the Marshall font to have the proper look and feel, so I made the font have a slight bevel that would show up only on the bump map. This is why the font looks raised and just like a real Marshall amp.

This is the texture that I made in Photoshop for the metal knob board of the amp. I wanted it to have the brushed gold look of a real Marshall amp.

This texture was painted in Photoshop after exporting the guitar body as an obj.
I wanted the guitar to look real but the problem was in how the model was made. The body and neck were all one piece, which in real life is not the way guitars are made. Knowing this I decided to make the whole guitar have an all wood finish because fret boards are not painted on guitars.
I wanted the guitar to look real but the problem was in how the model was made. The body and neck were all one piece, which in real life is not the way guitars are made. Knowing this I decided to make the whole guitar have an all wood finish because fret boards are not painted on guitars.

Image used for texture on bedspread and pillow case. This image was made in Photoshop.

Image used as bump map for walls.

No comments:
Post a Comment